Chaos Destruction
With this project I wanted to learn more about real-time destruction physics and their limitations. The scene is heavily inspired by the Matrix so there’s a lot of exaggerated physics and impact effects.
The scene is almost fully destructible. with some exceptions. The fractured wall pieces have an anchored unfractured interior to keep the piece counts low’ish, as having the whole mesh fractured was unreasonably expensive.
Houdini to Unreal
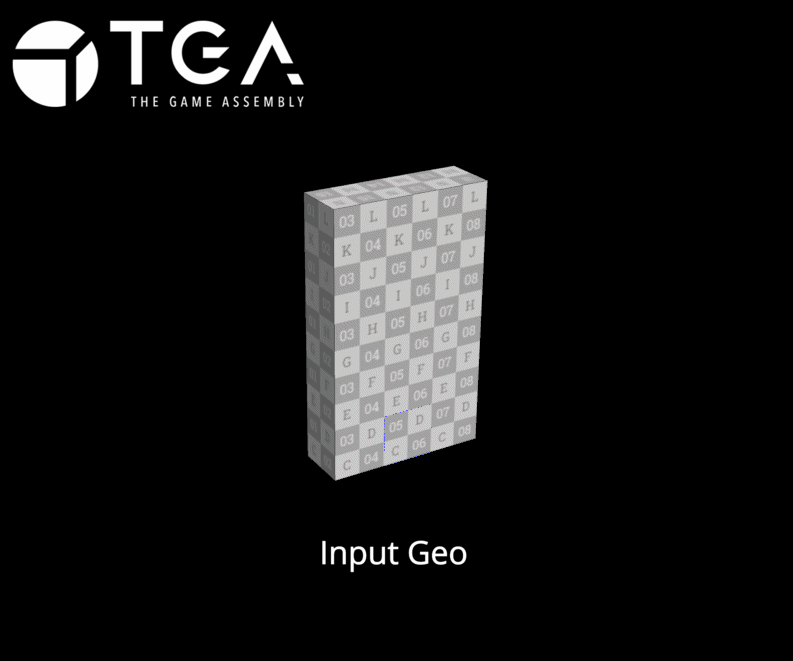
Input mesh from Unreal Engine is fractured, UV’d and assigned vertex colors to split the textures.
I measure the input mesh and write the scale as a point attribute, the point also gets a reference to an Anchor Field blueprint.
The output of the HDA is a Chaos ready Geometry Collection and a correctly placed Anchor field.
The Geometry Collections have 2 levels of clustering, which is a limitation of the current Houdini to Chaos Pipeline.
Internal Rebar Mesh
I extracted curves from the input mesh, scattered square curves with 45 degree rotational offsets per iteration. Then I offset the position of every other point and projected the curves together by minimum distance.
Used the labs polywire to mesh the curves and get free UV’s. VDB’d it to get the intersections to look like welding, reduced the polycount and transferred the UV’s back to the final mesh.
In Unreal I had remove the meshes from the Distance Field Lighting to avoid Niagara GPU collisions.
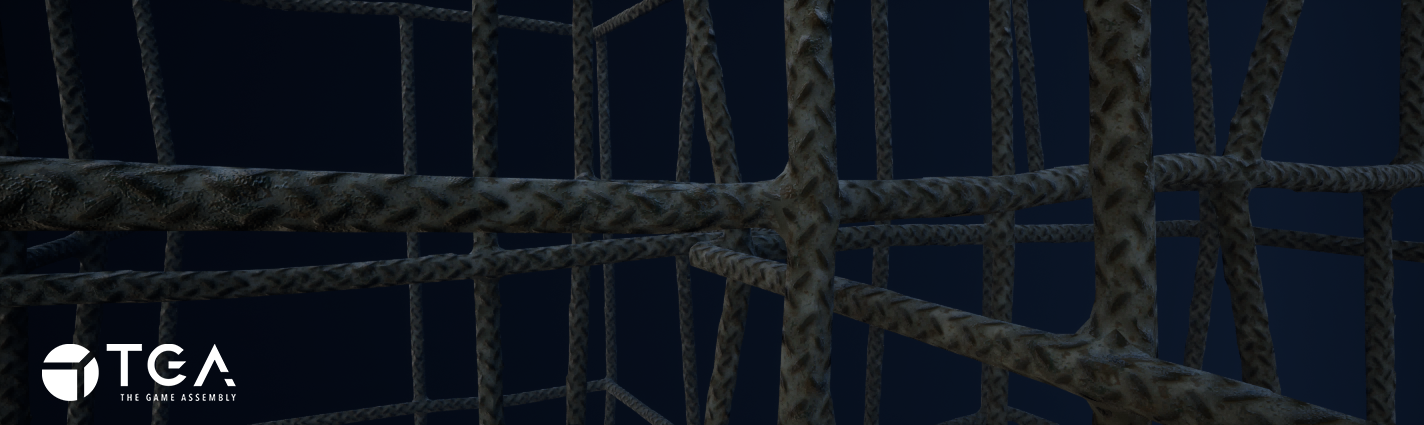
The textures I stole from the base Houdini texture library. The Metal texture already looked quite close to the raised ribs found on rebar, so I brought it into COPs, adjusted the colors and and created a Normal Map using the Height Map.
Testing Phase
Everything in Chaos is controlled through “Fields”.
The Anchor Field Disables Simulation on intersecting GC Pieces effectively locking the geometry in place.
The Master and Bomb Fields are used to apply force to the geometry.
The Sleep, Disable and Kill Fields are used to clean the scene of fractured geometry.
Most of the first 2 weeks went into learning more about Chaos and the Houdini pipeline to assign the physics attributes and correcting collisions.
Unfortunately Anchor Fields can’t be fully implemented in the HDA. Since I have to manually initialize the field in parameters of the Geometry Collection.
I could not find away around that.
For the wall GC I used a single Master Field, spawned at the point of impact.
The Glass is a similar setup except I spawn a second larger Master Field with a small delay and less force to trigger the an area around the impact to fall out.
I struggled a lot getting the physics behavior to look correct without making the Master Fields very large, I think it’s due to the amount of layers of fractured geometry in the GC. So the pieces kind of just slid out in a very unsatisfying way.
My classmate Philip Bäcklund had the great idea to place a Collision Box inside the GC which forced the pieces to fly out as soon as they were activated.
This gave the activated pieces an initial “oomph” that made it a lot more fun to play with.
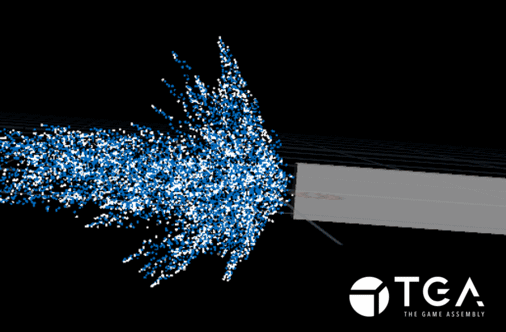
Chaos Debris Smoke
Using Break Notify’s from Chaos I can send the fracture data directly to a Niagara System. It’s a single emitter using smoke sprite sheets created in Houdini.
I’m using 2 Niagara Systems and 3 emitters placed in the world which emit based on the trailing data they receive from Chaos.
2 of the emitters are almost identical, one has a higher spawn rate to avoid particle stepping fast moving pieces.
The other is limited to very slow pieces to create lingering smoke after pieces have started to settle.
The emitters only spawn particles on the largest debris pieces to avoid overloading the GPU.
Dust Impact Flipbooks
I simulated dust impacts in Houdini, rendered them in Karma from 4 different angles, and used COPs to pack them into a single RGBA texture flipbook.
In blueprints I clamp the dot product of the inverted impact normal and the incoming projectile direction to get the hit angle in radians. Then I convert that value into degrees which becomes the branching condition for spawning flipbooks.
Wall Impact Niagara System
The Niagara System is relatively simple, I have a few “Hero” debris emitters with very low spawn counts, which are used to drive the smoke trail and smoke poof emitters.
I saved out a few fractured pieces from the final Geometry Collection which I use as mesh particles, they already had UV’s and vertex colors so I could just slap on the same material.
The velocity is the reflection vector of the projectile direction and impact normal fed through blueprints,
The size of the particles is set through random range float parameter, which I used to increase the drag on larger debris pieces.
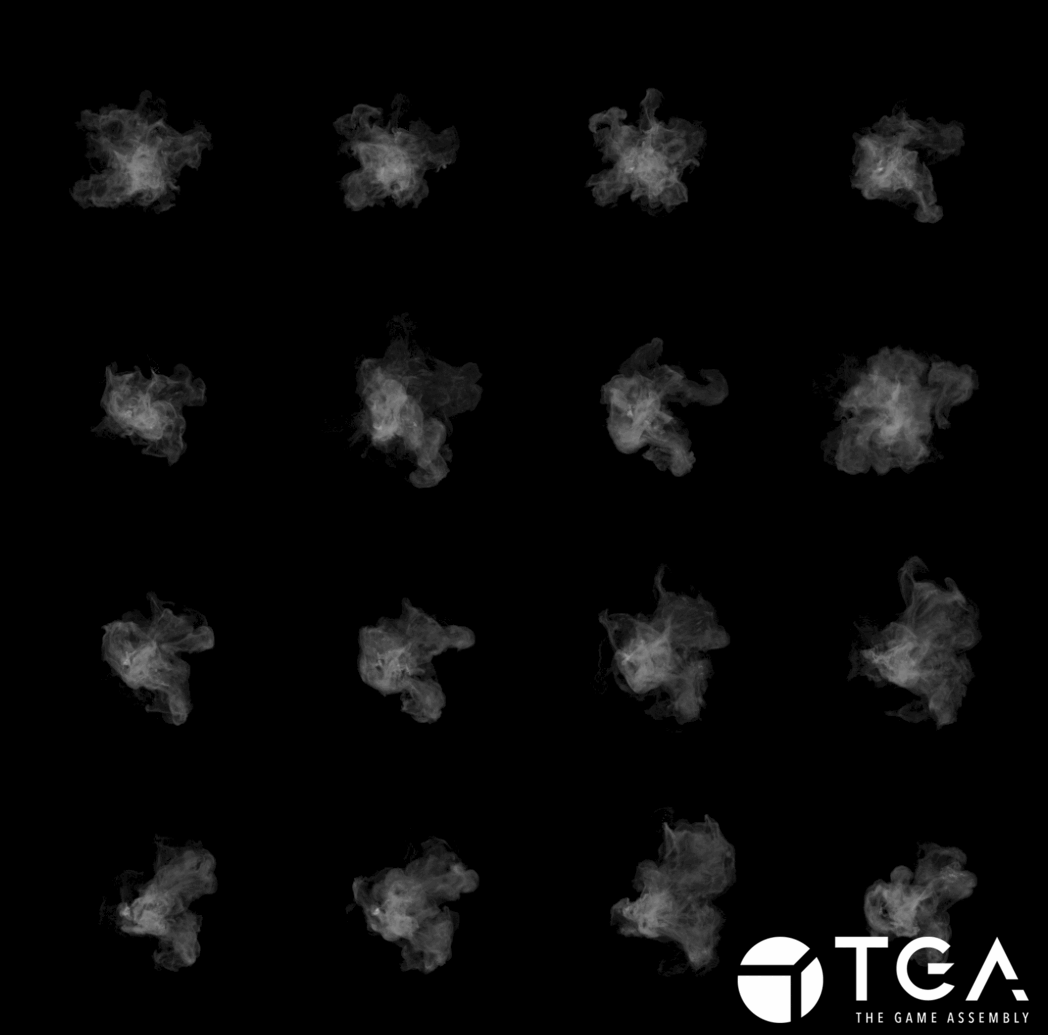
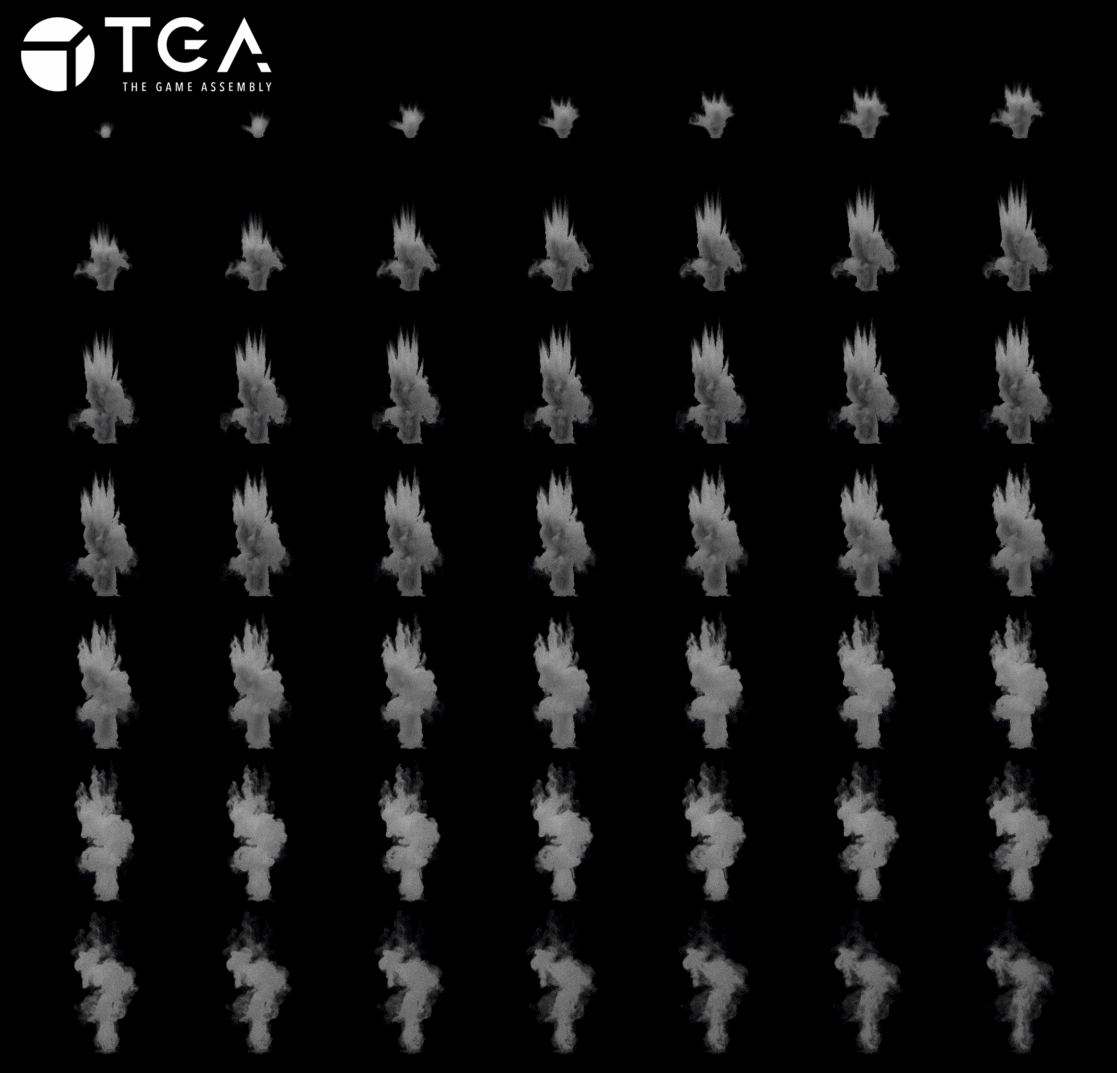
Smoke Sprite Sheets.
I used TOPs in Houdini to randomize a few variables in a smoke simulation and then render out the last frame using Mantra.
The final output was a collection of textures I could assemble into sprite sheets in COPs.
I also created another one with more shredded smoke.
Glass Fracturing
This was a lot simpler to create and get up and running in Unreal Engine compared to the Walls and Pillars, however the damage thresholds and propagation rate attributes were very finicky.
I use an unfractured window as a proxy mesh to avoid the cracks being visible before fracturing.
I experimented using the Apply External Strain nodes in blueprints but they did not create the same explosive energy as the Master Field.
My teacher Valdemar Nyhlén gave me a lot of invaluable feedback throughout the project and especially on the first iteration of the glass breaking, it was too violent and unrealistic. He had the idea to make some of the glass pieces fall after the initial impact, which led me to using 2 delayed Master Fields to get a more grounded physics behavior.
The Niagara system is very similar to the wall impact, I swapped some of the materials and increased the scale of the smoke particles so they’d look more like glass dust.
To get the glass pieces to fly out of the hit location I inverted the velocity of the direction of the incoming projectile.
I also inverted the smoke poof emitter velocity angle to get wider and slower glass dust on the opposite side.
Muzzle Flash
This was a very quick addition as I wanted to add some feedback to the firing.
Made by modifying the muzzle flash shelf tool in Houdini. I added an additional pyro burst source with a wider angle to mimic an assault rifle muzzle flash.
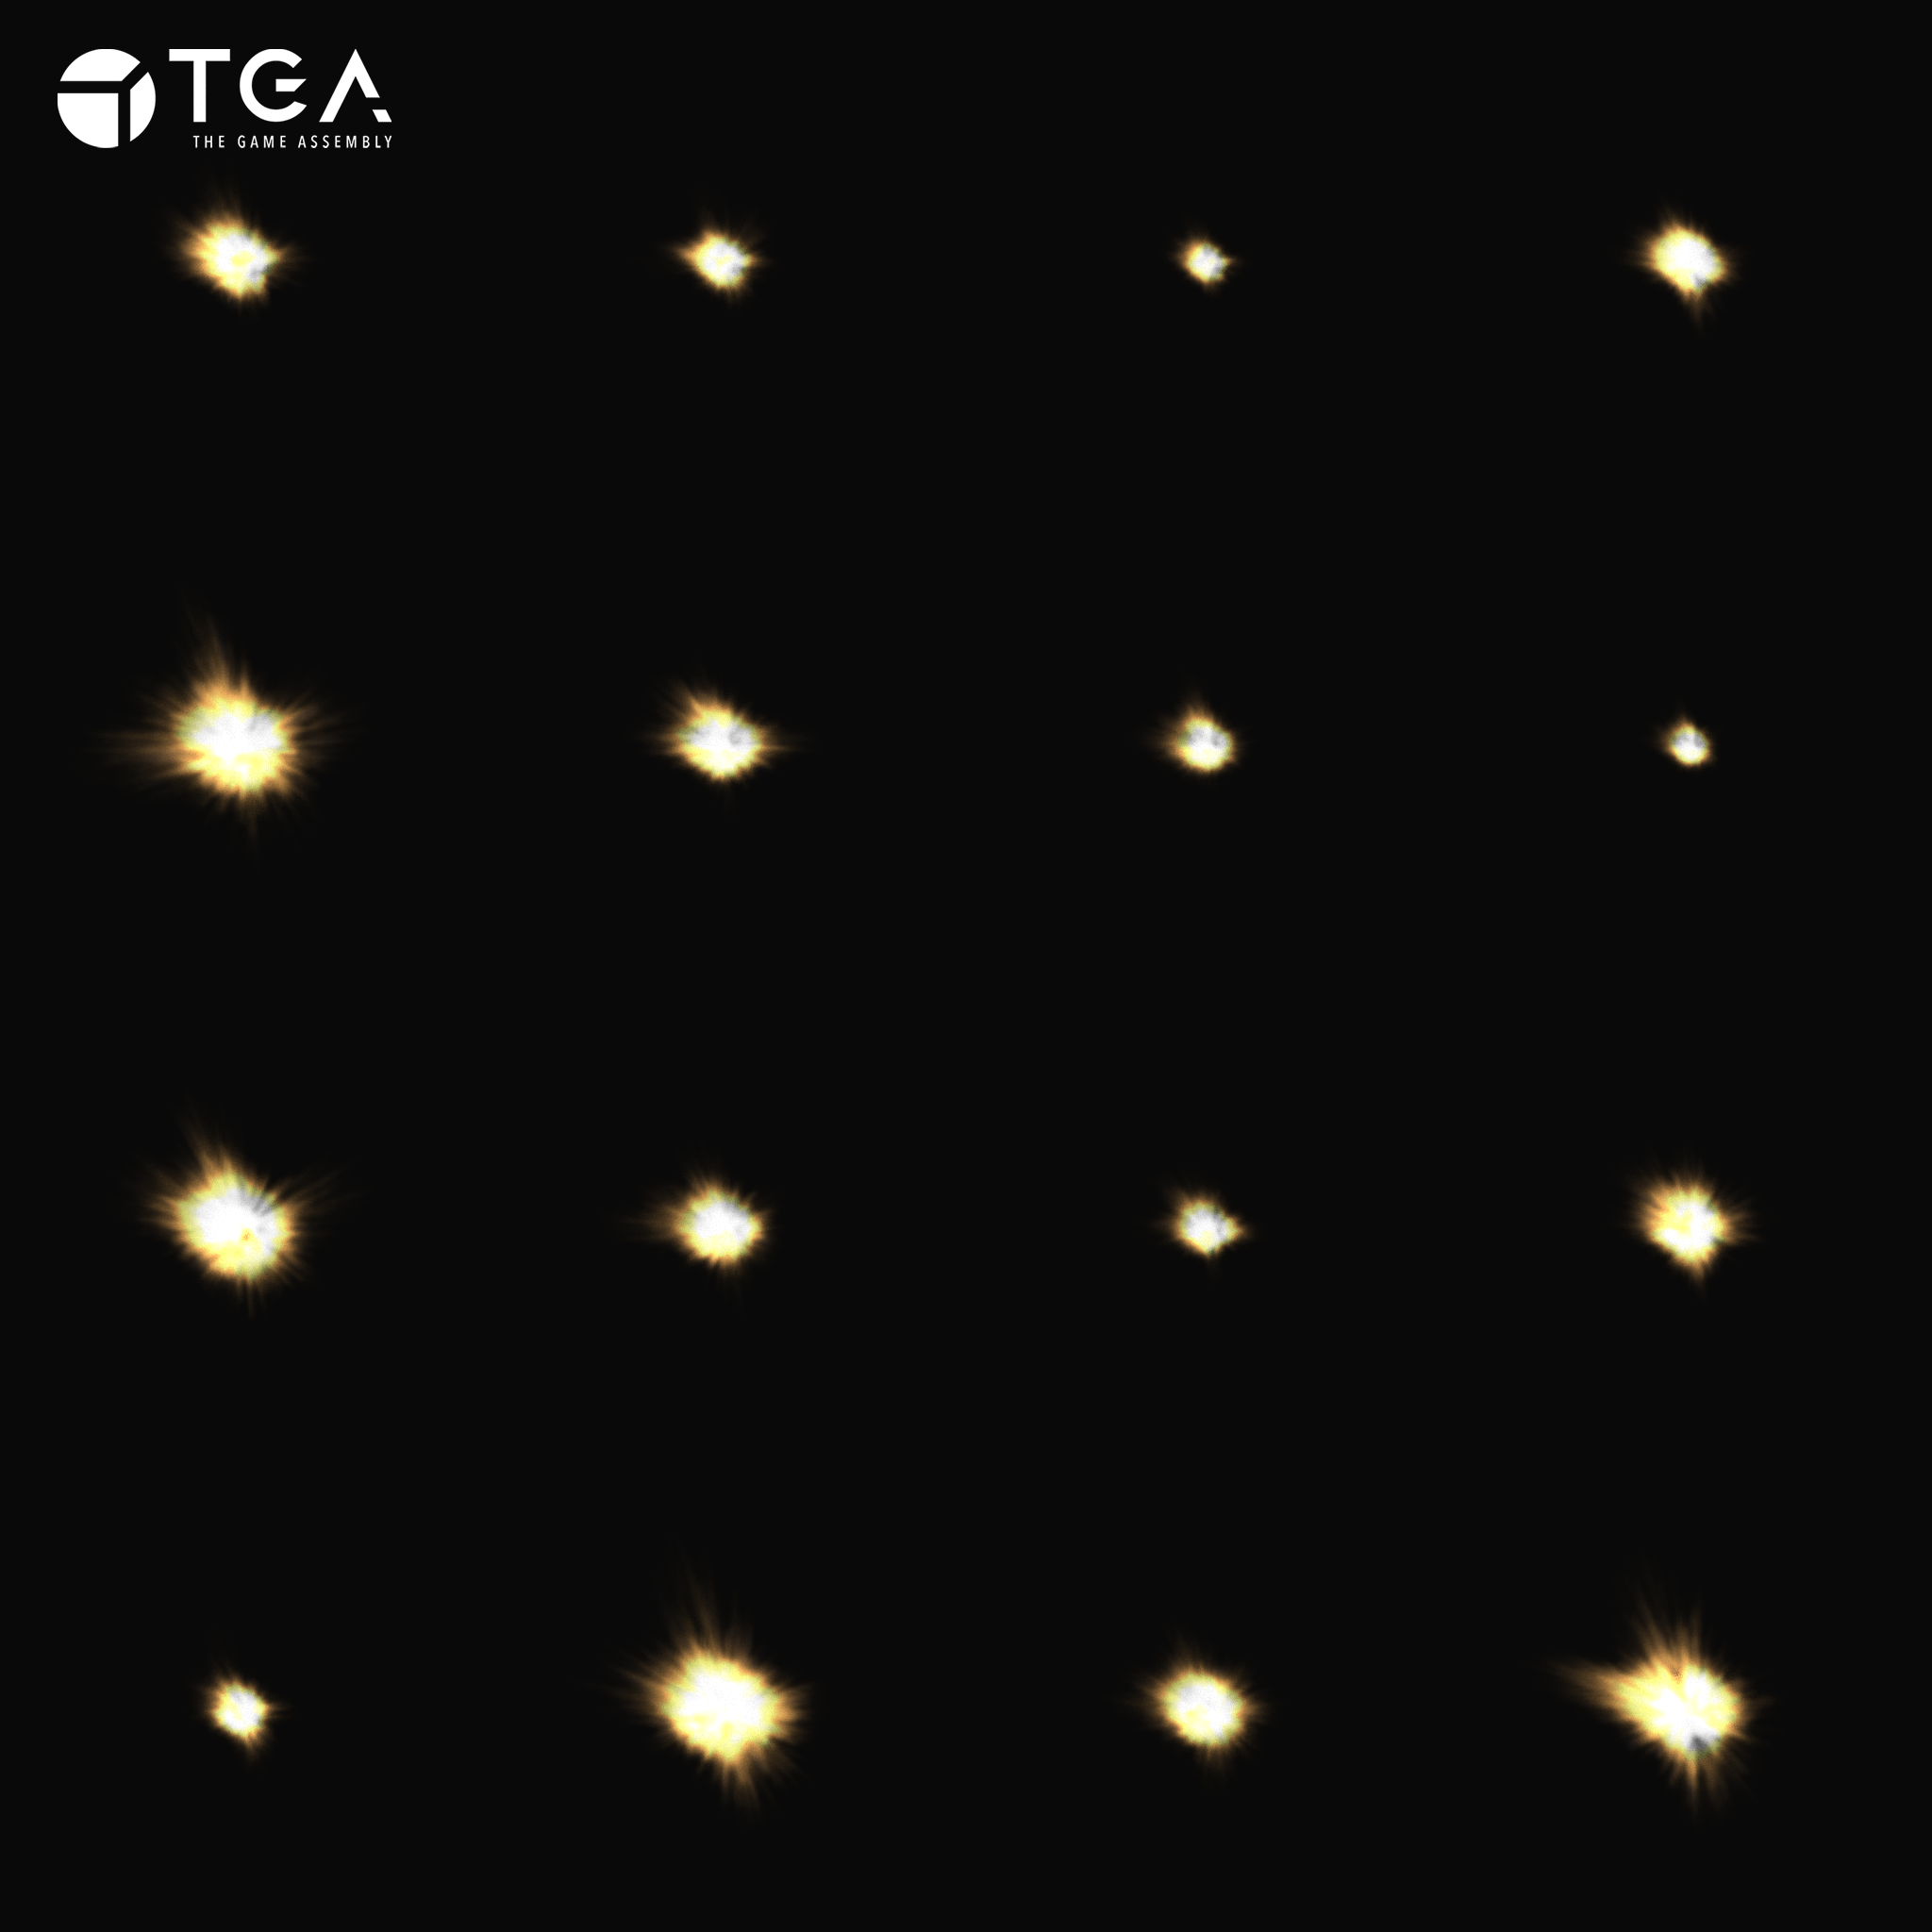
I rendered out a few frames using Mantra and assembled them into a sprite sheet in COPs.
The Niagara system then spawns the flash attached to a muzzle socket I created on the gun skeleton.
I also spawn a few large smoke sprites with low opacity to not distract too much from the destruction.
I flicker a small point light to fuse the muzzle flash better with the gun.
Impact Decals
I didn’t have time to fracture and create a GC for the floor mesh (and probably not the budget for it), so I used decals to have some player feedback when shooting it.

I didn’t have time to fracture and create a GC for the floor mesh (and probably not the budget for it)
I fractured a thin box, offset the pieces a bit and randomly rotated and scaled them down in a loop.
Then I rasterized the mesh in COPs, and created the decal height and opacity textures.
The decal material is a Translucent Deffered Decal with a ParalaxOcclusionMapping node doing all of the heavy lifting.
I connected the height fog to the firing logic so every shot increases the density a little bit, and once firing stops it returns to it’s default value.
Performance
With limited time and experience in performance optimizations I didn’t have too much luck making the system very performant.
https://gdcvault.com/play/1035357/Dynamic-Destruction-in-UE5-with
This GDC talk had some information on optimization which helped, like turning on One Way Interaction on the Geometry Collection.
I decreased the Solver Position Iterations for a small performance increase, and turn on Tick Async Physics (big improvement) and Async Substepping in the project settings.
There’s a lot of console commands related to Chaos Physics, but I didn’t have time to look into all of them but the ones I try did not behave as expected.
While testing the different fields for removing fractured pieces I found out that using the kill field had the biggest performance increase. The Sleep Field strangely enough is the only one that removes the geometry, but it doesn’t remove the pieces from the physics calculations so the CPU overhead never really recovers. And only using a kill field gave much better performance but the GPU suffered when a lot of pieces were lying around the scene.
So to get the best of both worlds I pop the kill field up after a certain time of non firing, which cleans the physics thread. And removes a lot of the tick overhead. This was the biggest performance increase overall.
However, WorldTickTime keeps rising per fractured piece, so even if the kill field cleans up certain tasks the CPU overhead keeps rising. I could not figure out a solution but I tried using Unreal Insights for the first time and it might have something to do with the collisions.
As far as I know the solution is: “Less fractured pieces in Geometry Collections.”
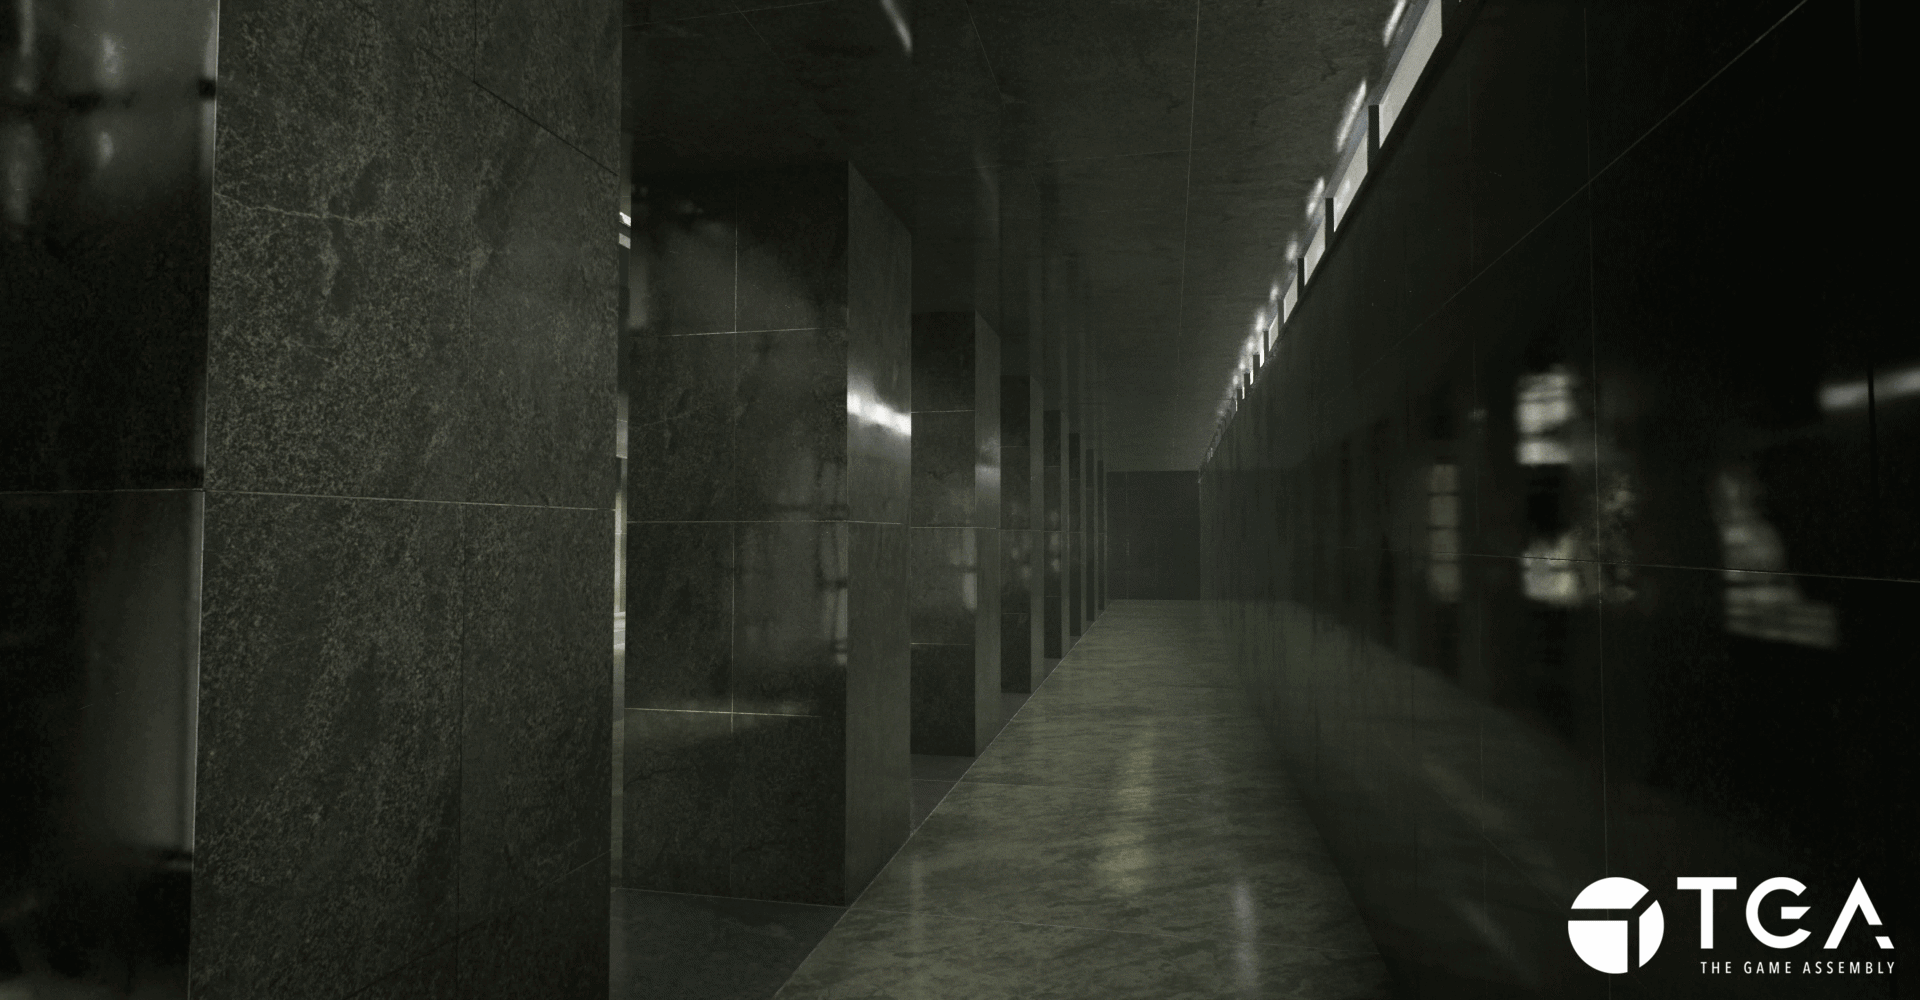
A few screenshots of the level, it was put together relatively quickly and I got most of the textures from Quixel, I did modify the floor texture in COPs to get it closer to the reference and created a new normal map for it.
It wouldn’t be a Matrix scene without slow motion sequences.
The impacts are sometimes a bit delayed but in my defence this was a last minute addition ¯\_(ツ)_/¯
If I had more time:
More time to polish would have been great, I struggled a lot with the lighting and I think it weakens the project as a whole.
I would have added metal hit Niagara Emitters for the metal materials in the scene, some sparks and extra floof. More tweaks and iterations on the existing Niagara Systems would be good as well.
Additonal variations of dust impact flipbooks and decals.
Having time to fracture all the Glass in the level would have been satisfying, dynamic fracturing being the big dream, but way out of the project scope.
More performance testing, proxy meshes for the walls and pillars, less fractured pieces to try making the system performant.
Overall I learned a lot and I’m happy with the result.
Thanks for reading :)